(302) 262 8484
Stop Clicking Device Manager: How to Update Windows Drivers the Right Way

The Big Lie About Device Manager
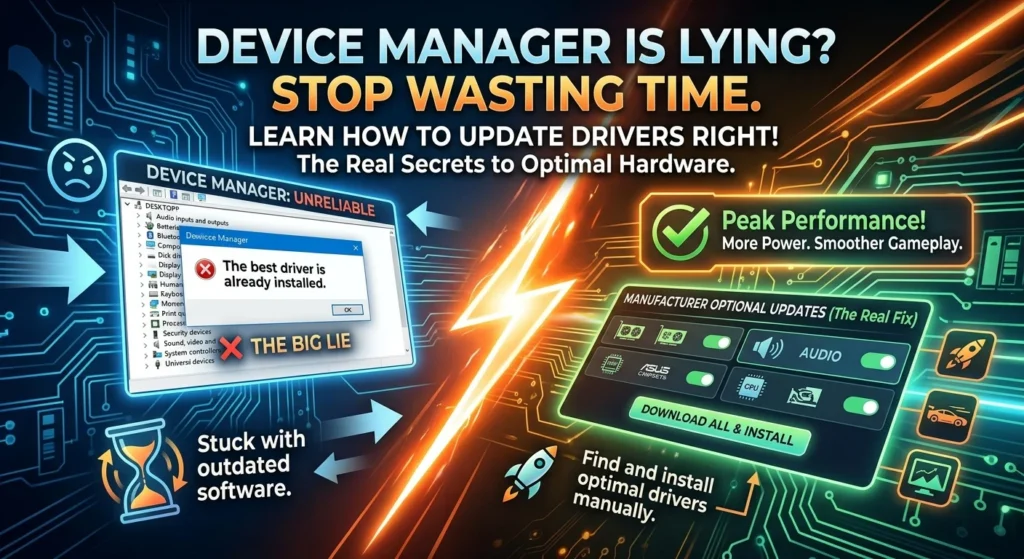
We’ve all been there. You’re trying to fix a stuttering game or a crackling audio jack. So you open Device Manager, click update, and wait. And within seconds, Windows confidently tells you the “best drivers for your device are already installed.” Here’s the thing. It’s lying to you. That right there is exactly why you need to know how to update Windows drivers without using Device Manager at all.
Device Manager is notoriously terrible at pulling actual updates from the web. Most of the time, it just leaves you stuck with outdated, generic software that might require professional PC repair in Delaware to resolve properly. If you actually want your system running at peak performance, you have to bypass this tool completely.
Luckily, updating your hardware manually is incredibly easy. Maybe you want a simple point-and-click method. Or maybe you’d rather type a few commands to automate the whole process. Either way, we’ve got you covered.
How to Update Windows Drivers Without Device Manager (Using Windows Update)
Most people don’t realize Microsoft actually hides the real driver updates right inside the main Windows Settings menu. It’s hands down the safest and most reliable built-in method we have.
Finding the Hidden Optional Updates
Windows Update automatically pushes critical security patches. But it treats driver updates as totally optional. So to find them, you have to dig just a little deeper into your settings.
First, open up your Settings app. Just hit the Windows Key + I. Then, head over to the Windows Update section on the left sidebar.
Now, here is where it matters. Don’t just click the main update button. Instead, click on Advanced Options. Then scroll down until you see Optional Updates.
If there are any driver updates actually available for your hardware, they’ll be sitting right there waiting for you. Just check the boxes next to the ones you want. Click Download and Install. And let Windows do the rest of the heavy lifting.
The Pro Route: Using Official Manufacturer Software
Windows is fine for generic components. But it really falls short when we’re talking about specialized hardware. If you’re a gamer or a creative professional, you need the absolute latest software straight from the source, or you might need to consider personalized IT solutions for small businesses to keep your workstation optimized.
Direct GPU Control
Your graphics card is the heart of your machine’s visual performance. So relying on Windows to update it is a massive mistake. Both NVIDIA and AMD offer dedicated applications that ping you the second a new driver drops.
- NVIDIA App: This replaces the old GeForce Experience. It gives you game-ready drivers and deep performance tuning.
- AMD Software Adrenalin Edition: This one gives you one-click updates and incredibly detailed control over your Radeon GPU.
- Intel Driver and Support Assistant: A nice, lightweight tool. It scans your system and updates your integrated graphics and Wi-Fi chips automatically.
Proprietary OEM Updaters
If you’re running a pre-built desktop or a laptop from a major brand, you already have a built-in tool designed specifically for your machine. And these tools are miles ahead of Device Manager. Why? Because they’re perfectly tailored to your exact motherboard and system configuration.
Look for programs like Dell SupportAssist, HP Support Assistant, or Lenovo System Update right in your Start menu. Try running these utilities about once a month. It’ll keep your BIOS, chipset, and network drivers perfectly synchronized.
For Advanced Users: The Command Line Method
But what if you need to deploy drivers across a bunch of different machines? Or maybe you just prefer the raw speed of the command line. Windows actually has a powerful built-in tool called PnPUtil. It lets you manage drivers without ever touching a graphical interface.
How to Use PnPUtil in Command Prompt
To pull this off, you first need to download the driver files directly from the manufacturer. Usually, these files drop into a folder containing an .inf file.
Go ahead and open Command Prompt or PowerShell as an administrator. You can do this easily. Just search for cmd in the Start menu, right-click it, and select Run as Administrator.
Once the prompt is open, you can install or update a driver with a single command. Let’s say you have your driver files saved in a folder on your C drive. Just type the following command and hit Enter:
pnputil /add-driver C:Drivers*.inf /subdirs /install
This command simply tells Windows to look inside your specified folder, find any driver setup files, and automatically install them. It’s fast. It’s efficient. And it completely bypasses any annoying menus.
Why You Should Avoid Third-Party Driver Updaters
If you search online for how to update Windows drivers without using Device Manager, you’ll immediately get flooded with ads for third-party driver update tools. Here’s some honest professional advice. Stay far away from them.
A lot of these applications are bloated, scammy, or just outright dangerous. They routinely install incorrect or outdated drivers. And that leads directly to system instability, blue screens, and massive performance drops. Your operating system and your hardware manufacturer already give you all the tools you need for free.
So what does that mean for you today? Stick to Windows Update. Use your manufacturer’s official software. And fire up the command line if you want to feel like a hacker. Trust me, your PC will thank you for it.